

First I will start with showing you the necessary tools. The tools I used are a variety of sizes of dotting tools, one size for each color of dot, and a small manicure clean up brush. My tools are by Bundle Monster, and I will be doing a review of their tool set in a little while complete with photos of the full range.


I started off with Revlons Quick Dry base coat. I don't always use a base coat, but when I do I use Revlon quick dry base coat :P I applied one even coat to the whole nail bed of all my nails as pictured above.


Next I used Revlon Top Speed in Spirit to paint two coats of pure white onto the full nail bed of all my nails. Just an f.y.i I used to use Sally Hansen Xtreme Wear in White out for all my manis that required white, but while I am in love with the rest of the colors in the Sally Hansen lines I always found that the formula for White out began to clump and become gooey faster than all the others so I decided to go with Revlon, and it seems to be performing much more smoothly. I just use my Sally Hansen for stamping now.


The colors that I am going to use for this mani are pictured above. They are Sally Hansen Xtreme Wear in Pacific Blue, Sally Hansen Xtreme wear in Marine Scene, Essie in Aruba blue, and Essie in where's my Chauffeur?. I also used a very small amount of Sally Hansen Gem Crush in Bling-Tastic. These are all great polishes and I strongly advocate the purchase of all of them :P I know, I know, enabler much!

First I used my largest dotting tool to dot Marine Scene which was my lightest and thinnest polish being a metallic on top of the white. I wanted to get lots of the color, while leaving lots of white as I was using multiple colors and I still wanted some white visible when it was completed. I allowed this color to dry.
Being the next lightest color, I used my second largest dotting tool to apply Essie Where's my Chauffeur I applied roughly the same number of dots in this color as I did with Marine Scene. Notice that I overlapped some of my dots to create a more interesting pattern. Allow dots to dry.

Next I used my next smallest size dotting tool to apply my dots in Pacific Blue. I applied again overlapping with some of the other colors and filling in some more white spaces to make it look cohesive. The number of dots you will need is obviously dependent upon the size, and length of your nails and how much space you have to fill in. Allow to dry

To finish up the dots, I used my smallest dotting tool to apply Essie Aruba Blue to fill in any spaces that I wanted to fill in to create a blended and even look between all the nails. Again I still wanted to leave some white visible so I took care to not over apply any color in particular. Allow to dry.


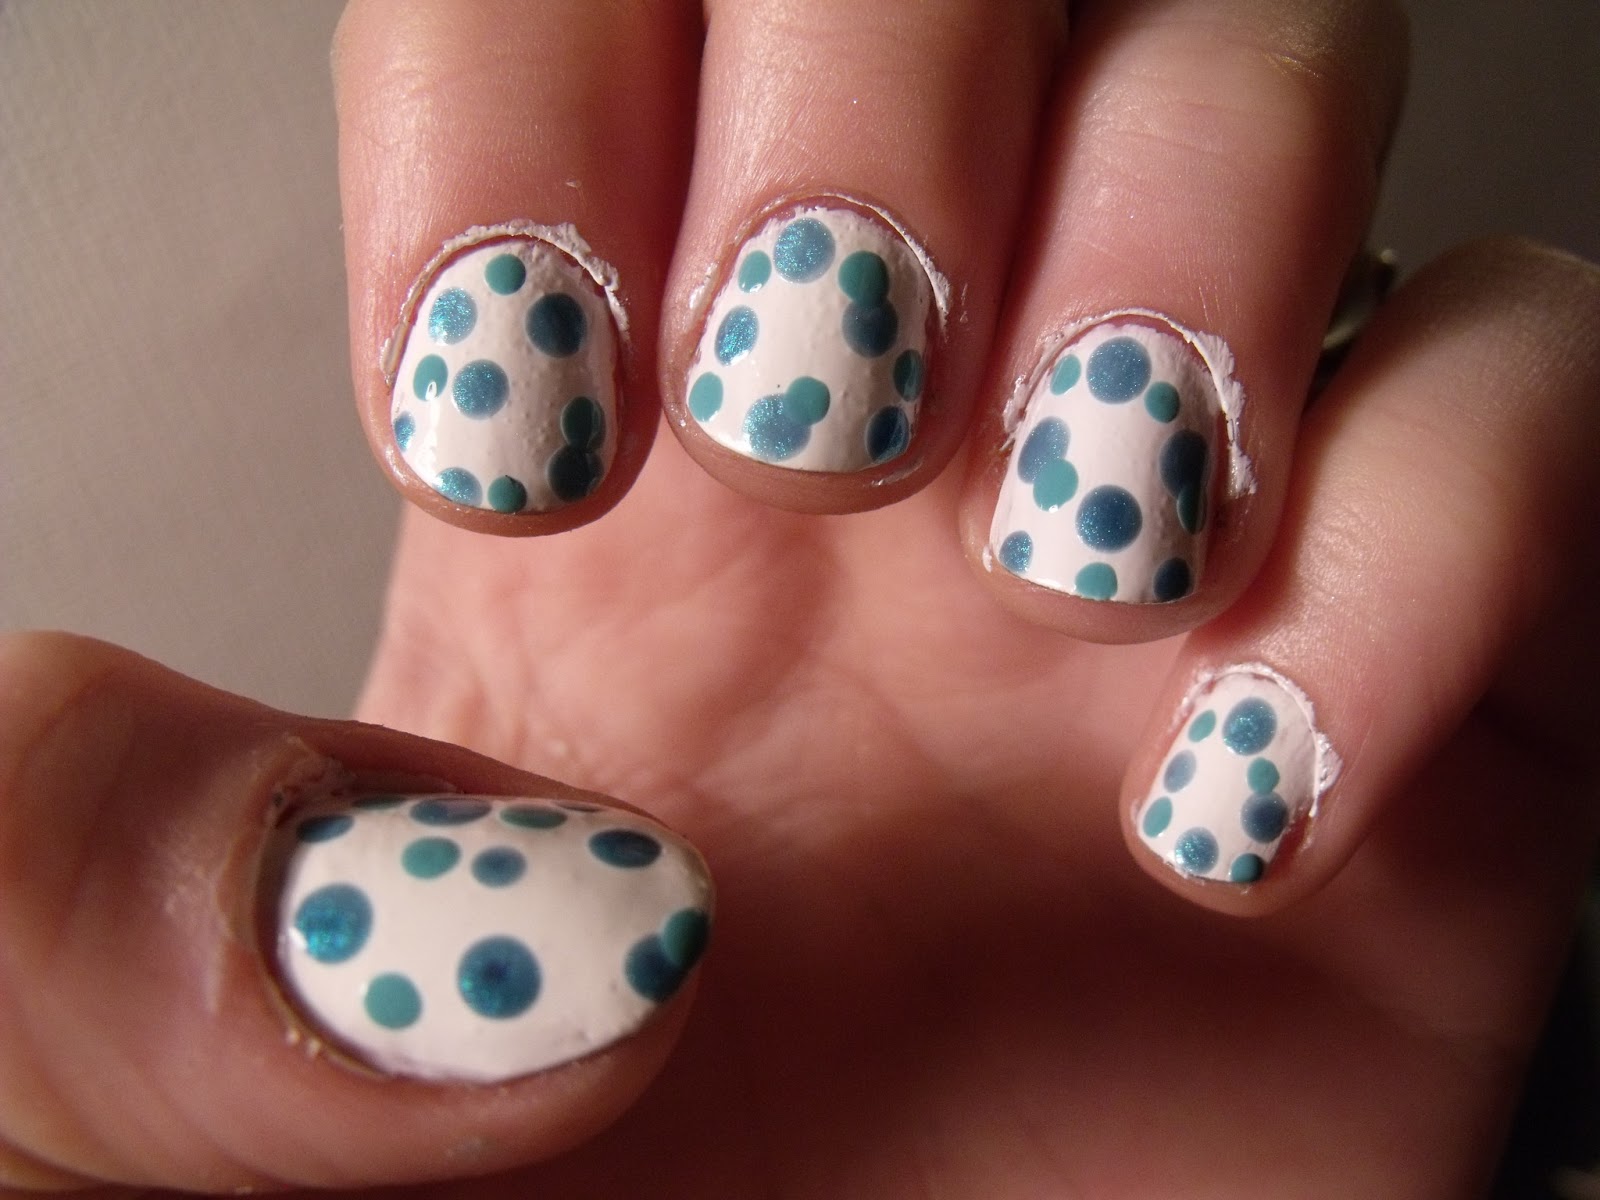
The only steps left were to apply in whatever size dotting tool you prefer one to two dots of glitter polish in my case Sally Hansen Gem Crush Bling-Tastic just to add a touch of glitter and shine to the mani. I then used my manicure cleanup brush as pictured at the beginning of the tutorial to clean up around my cuticles and give a nice frame to the nail bed. After making sure the polish was dried well so that the pigments of the dark blues didn't run into my top coat, I applied one coat of Seche Vite to the mani. Boom, you are done. This can of course be done in a gradient of whatever colors you want. I hope that you enjoy it and give it a try! Let me know what you think! Thanks for reading and stopping by!
No comments:
Post a Comment