Friday, 5 April 2013

House Targaryen Nails ( Feat Dannys Dragon Eggs)

So I freakin love Game of Thrones, and I love Daenerys Stormborn, she is my top favorite character. So while I was re watching the first episode of season 3 last night I decided to do these nails. This isn't a tutorial but I will list the polishes and image plates that I used.


So here they are. The thumb is the Sigil of House Targaryen, a three headed red dragon on a field of pure black. The index, middle, and ring finger are Daenerys' dragon eggs, and the pinkie is an ever growing flame, because fire can not kill the dragon. Below I will show the polishes I used for each finger, as well as the image plates.

Thumb and ring finger:  

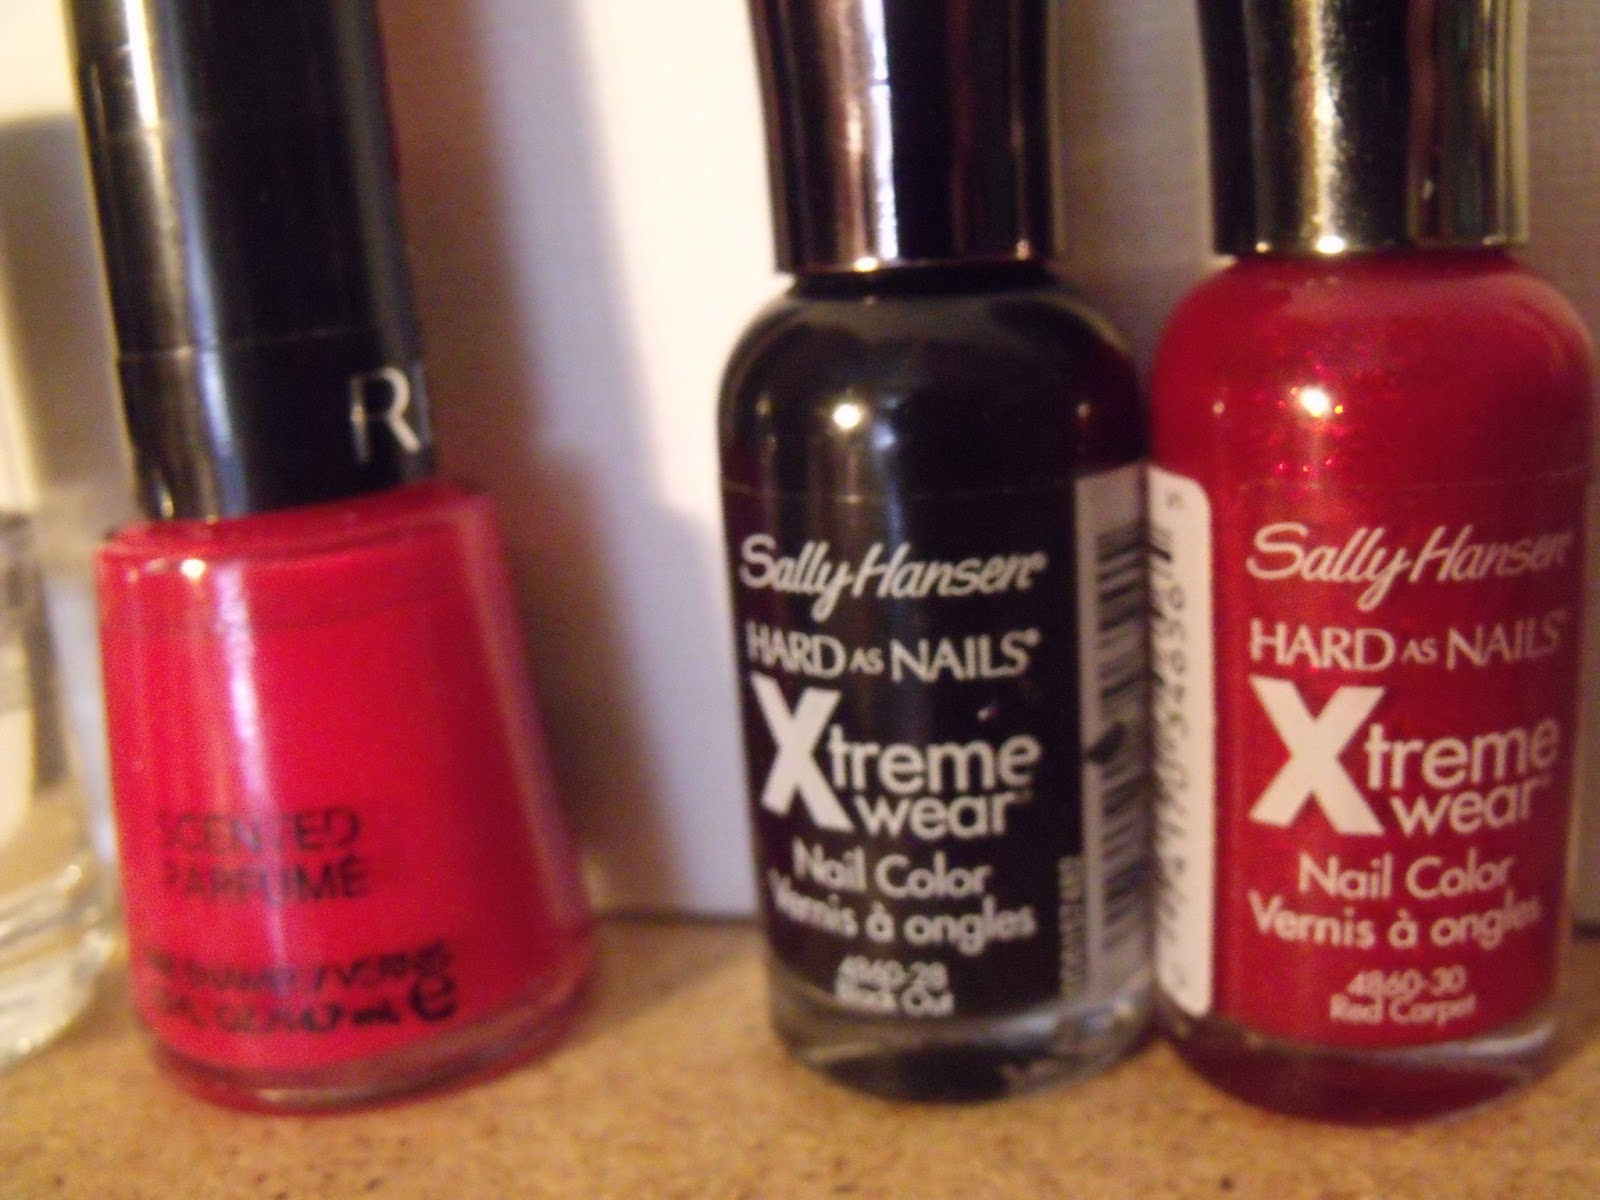
For the thumb I used Sally Hansen Xtreme Wear in black out as the background, and Revlon scented nail polish in Mon Cherry. I used a fine tipped nail art brush to paint the dragon.
For the Ring finger I used again black out for the background, and Sally Hansen Xtreme wear in  Red Carpet along with the bottom middle image of Bundle Monster image plate 209 pictured above.

Index finger:      

For the index finger i used China Glaze unpredictable, Wet n wild fast dry in SaGreena the teenaged witch, and Revlon metallic in copper penny. The image plate I used was Bundle Monster 211, I used the dotted print on the left as pictured above.

Middle Finger:  

 Ok for this finger I used Revlon Top Speed in Spirit, Sally Hansen Diamond Strength #62, and Revlon Gold Coin. I used the top print on the Bundle Monster image plate pictured above, it is number 316 as you can see in the photo.

Of course for the pinkie I just used a mixture of these colors ( black out, mon cherry, and copper penny) along with a nail art brush to create a random flame design.


 Of course I then sealed it all up with super glossy fast dry top coat Seche Vite. Also just inncase you were curious here is the stamper/ scraper I use. It is Konad and retails for around 8.00. I purchased mine from Nail Polish Canada. (nailpolishcanada.com) but you can get them at various beauty stores. That's all there is for this one folks! I will follow up with more as I plan to do the other houses as well :P Yes even dirty old Lannister. Feh. Haha :) Thanks for stopping by!


Thursday, 4 April 2013

Green Ombre (gradient) Monarch Butterfly Mani

It is known (as the Dothraki would say) that Butterfly manicures are one of my favorites.  I'm also a really big fan of ombre or gradient nails, I have been seeing a lot of these two elements mixed together so I thought I would try my hand at it. So here are the results, and of course as always, a walk through tutorial so you can recreate it yourself with Whatever colors you wish!


Here are the polishes I am going to be using for this one. From left to right they are Revlon Posh, China Glaze Def Defying, and Revlon Zealous. This will be more of a two tone ombre however because the last two colors are very similar, Zealous is quite a thin polish it will really just add a bit of metallic sparkle on top of the China Glaze color.  You could use an actual third polish I just wanted these ones.


My first step was to paint Revlon Posh onto the entire nail beds of all of my nails. This is a relatively high pigment polish so I only Needed one coat regular coat, and one thin coat.  As you can see it's also very shiny :P It is one of my favorite greens btw. I allowed this to dry most of the way.


Next I used a regular triangular make up sponge as pictured above and painted a layer of China Glaze Def Defying onto a corner of the sponge. I then dabbed the sponge onto my nail bed covering the bottom 2/3 of the nails. You will have to apply more polish to the sponge as necessary, it will depend on the size of the nails and how much polish you initially put on the sponge. Less is better than more because you can build it up if you don't have enough on the sponge, if you have too much it's going to be a glooby mess just f.y.i.  Allow to dry.


I then did the same process for Revlon Zealous. I sponged over the whole area where I had sponged Def Defying. As I mentioned previously this color only adds a metallic sheen to the previously applied color. If you wanted to add an actual third color you would apply that color to the bottom 1/3 portion of the nail leaving some of the second color exposed. Allow to dry.


Next we are going to be using Wet n' Wilds glitter coat Kaleidoscope. You don't have to add glitter to it, I just like glitter so if you want you can skip this step completely. You just want to paint one layer over the entire nail bed of each nail. Allow to FULLY dry, serious business I mean FULLY, the next step is using a nail art pen so you don't want to gloob it up and cause drag marks from a half dry mani because you couldn't wait for it to dry :P Trust me :)


Next we are using a M.A.S.H Nail Design Pen in black to create the shape of the wings. My lines are admittedly a bit shaky here as it was my first time doing these nails with this particular pen so I wasn't used to how slowly or quickly the polish comes out. You can also do this with black polish and a nail art brush such as those from the Bundle Monster 20 piece kit I reviewed a few days ago, I just wanted to try out this nail art pen. For the design all you do is drawn a black outline around your nail. Next you draw a scalloped edge beginning at the bottom of one side of your nail and swooping upwards in three or four C shaped sections. It doesn't matter which direction you go in as long as one side is lower than the other. I chose to have the rise go towards my pinky finger direction, this is just how it happened this time, but it looks equally as awesome either way. Then all you have to do is connect the points of the swooped c shapes to the black outline at the top end of your nail on an angle. Easy Peasy. Allow to dry.


Next we are going to be using my new favorite white polish Revlon Spirit and a small sized dotting tool to finish off the detail of these nails. What you want to do is dot evenly and carefully around the black on the bottom to create an effect similar to Monarchs wings. The amount of dots you need will of course vary depending on the size of your nails and the shape of your design, but make sure there is still a fair amount of black still showing, always under do it then add more if necessary. Allow to dry.


Then all we have to do is use a manicure clean up brush, or q-tips or whatever you've got to clean up the mani and make it look neat, and then use your favorite top coat to smooth it all out and add some lovely shine and protection. As you probably know by now, I along with a great population of others favor Seche Vite Dry fast topcoat, so that is what I used. I also really like Nutra Nail fast dry top coat which you can buy at most stores. It is inexpensive and dries very quickly with high shine.  Well there you go,  you're done! Pretty aren't they? I love them, give it a try with whatever colors you want! I know I will be doing them again. I will post pics when I do but obviously not a tutorial as it is the same premise as this one! Hope you enjoyed, and thanks for stopping by! :)

Tuesday, 2 April 2013

Bundle Monster Nail Art brush kit Review!

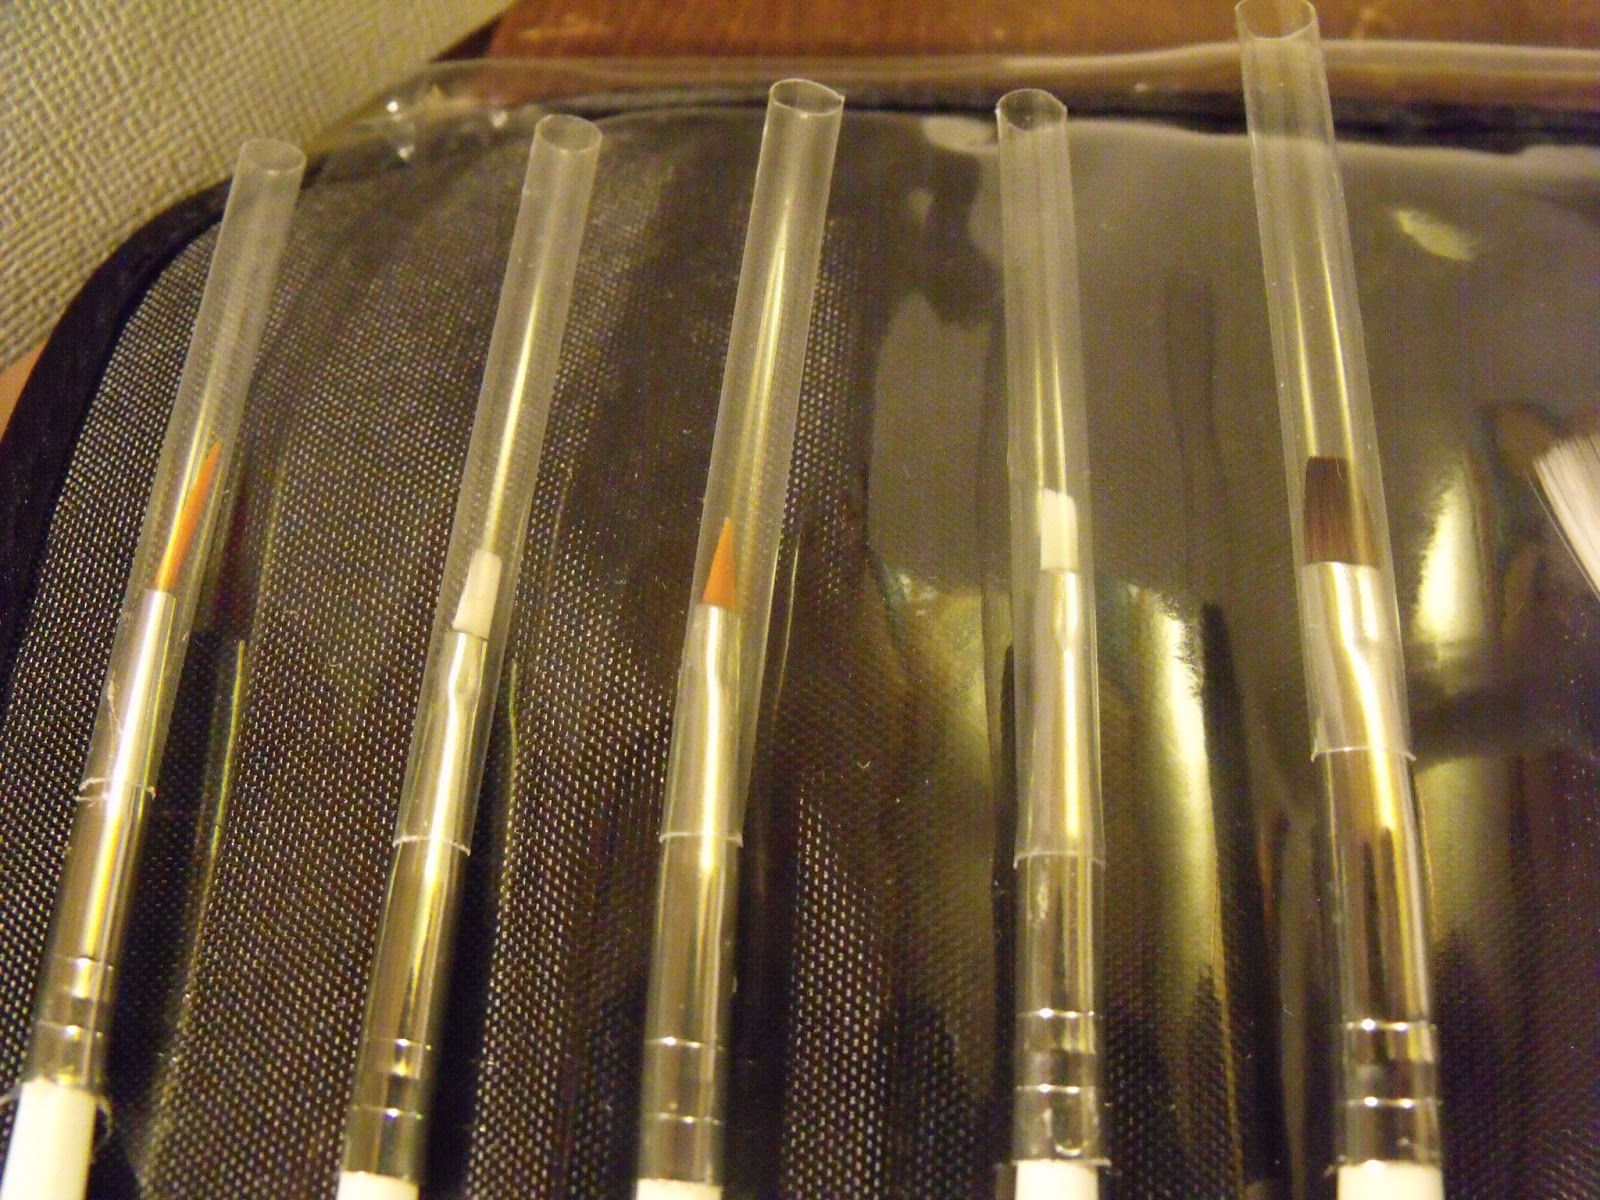
I have been in the market for a reasonably priced, well rounded nail art brush set. I had shopped around and around but had not found one that had both a wide range of brushes, and a nice range of dotting tools. However at long last I found a wonderful set from Bundle Monster :D!! Both well priced at $14.99 and containing 20 pieces spanning both fine tipped brushes, fan brushes, clean up brushes, angle brushes, flat brushes, and dotting tools It was an amazing deal. Here are some pictures!!


Oh and I forgot to mention it came in a super awesome fold up case with two snap closures!


 Each dotting tool pictured here is double sided with a different size dotting tool on each end. So technically you have 10 dotting tools, one of which is angled.


I was so pleased with this purchase, not only for price and content, but for their quality as well. I have used these brushes so much since these photos were taken a few weeks ago at un-boxing and they are so soft and easy to use. You can clean them out with a little nail polish remover after each use, and they still look like new. I love them so much, if you are looking for a nail art brush kit I strongly suggest you check out this great one from Bundle Monster. Also I should mention that while it took a few days longer the 5.00 shipping is very cost effective, and it only took a few weeks to get here. Totally worth the wait for the quality and price. Thanks so much for reading!

Guess what you should buy? Nail art packages from Nasy Nails!

So through Facebook I caught wind of a lovely company called Nasty Nails. They put together awesome nail art kits selling you all the polishes, brushes, nail art pens, top coats, etc required to do the nail art design at hand. I browsed their site for at least a half an hour to decide which would be my first purchase as there were SO many great deals. I decided on "Spotted Trend - Leopard Print by Chelsea® "It came with Full sized bottles of Essie Where's my chauffeur, Essie Chincilly, Sech Vite fast dry top coat, as well as a MASH nail art pen in black All for the astounding price of 19.99. Here is how it came :)


First of all it came in a Hot Pink bubble mailer which instantly won points with me because I frackin love pink :P.


It was really well packaged to prevent breakage, or damage during transit. Each bottle came in it's own bubble wrap enclosure, and it was all held together in a nice resealable bag. I know it sounds odd to rate  resealable bags, but seriously this one is the king of resealable bags. I know I'm odd.


The goods came without ANY damage or wear from shipping. It was absolutely perfect, Thanks Nasty Nails! You're awesome!


Here is a quick little swatch of both the colors, Chinchilly on top, Where's my chauffeur on the bottom. They are both amazing colors. Quite highly pigmented It only required two coats and I don't consider that bad at all. I love both of these colors they are very beautiful and hold a lot of shine on their own without a top coat. I highly recommend them both.


And just to cover all bases and review everything I swatched Seche Vite fast dry top coat over both the colors. This top coat as I have heard from EVERYONE is AMAZING. I feel as though I am spoiled now, and I don't know if I will be able to go back to any other top coat. It dries so quickly and blends out any slight imperfections that may have happened during your mani. Serious business, I highly recommend this top coat.

Well there you go guys, I strongly endorse purchasing from Nasty Nails, they are an amazing company with fast shipping, and great prices on their innovative nail art kits. They are good people in my humble opinion. Thanks for stopping by!


Monday, 1 April 2013

Blue Dotticure!

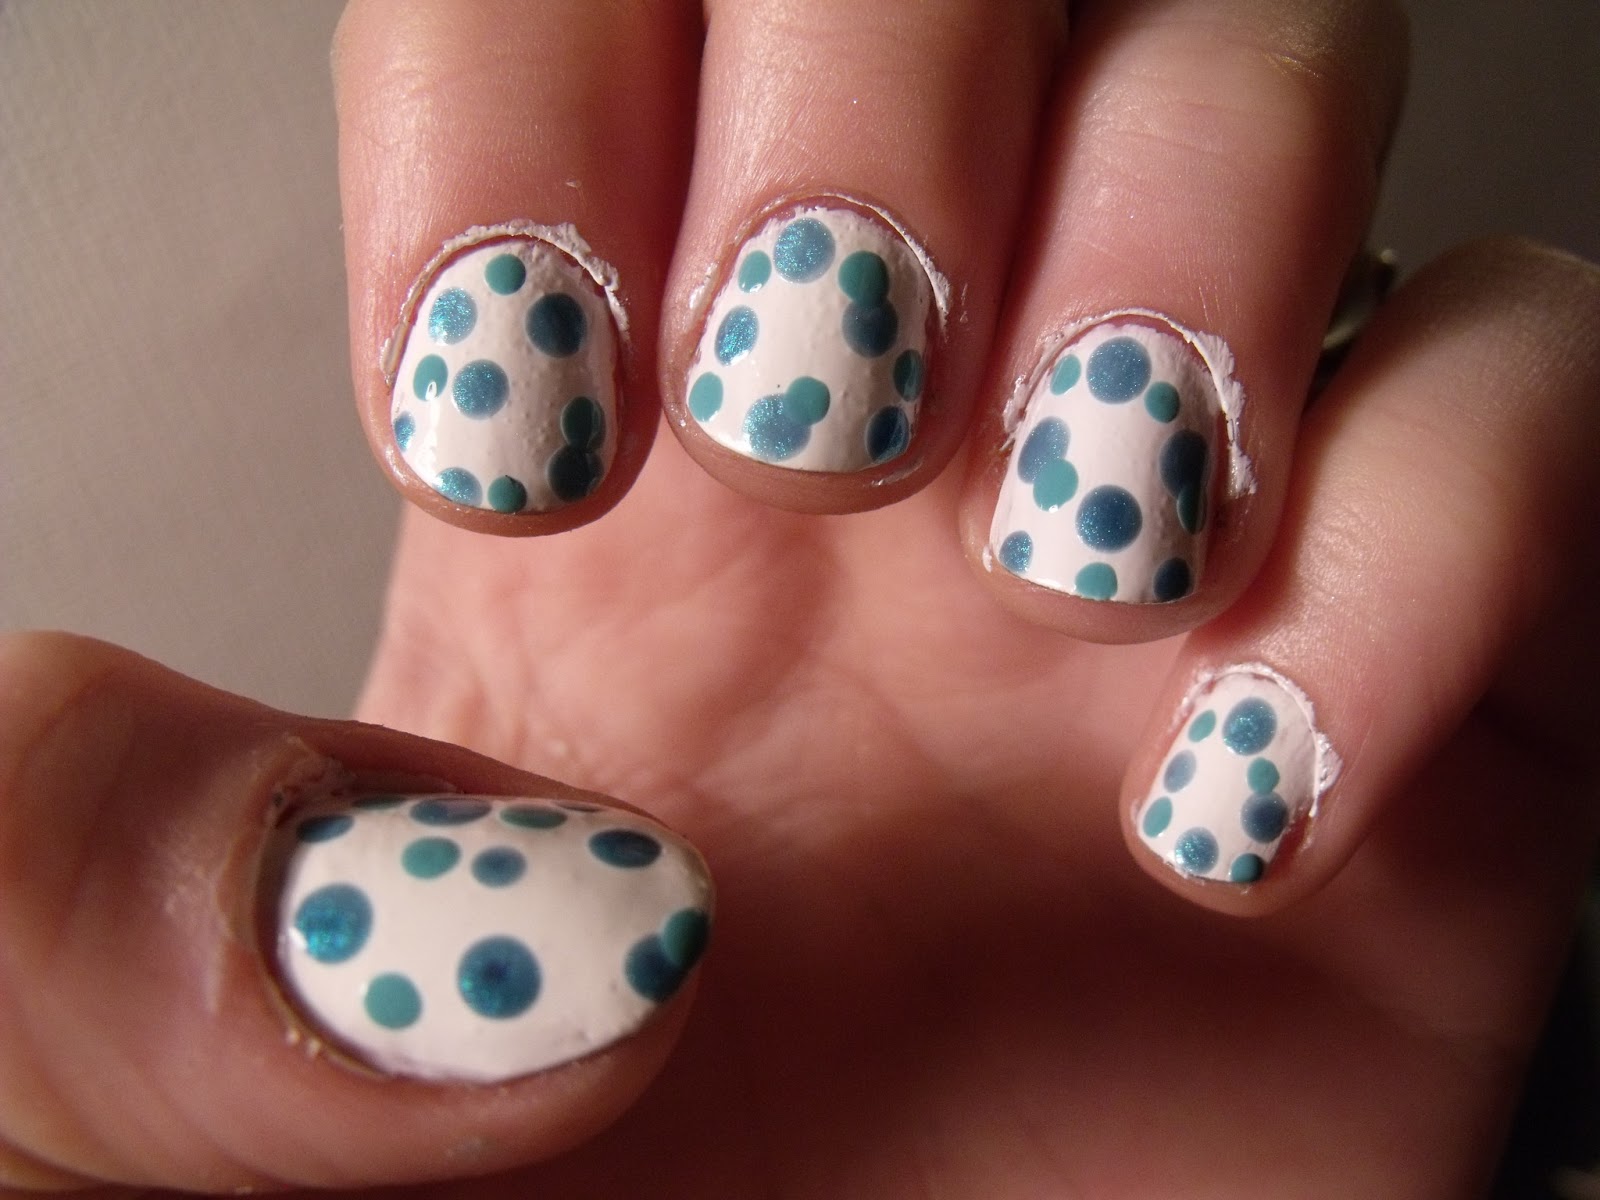
Hello there everyone, I did this really awesome mani last night while watching The Walking Dead. After a few lovely days of weather here, it started to snow, which inspired the blue ones of this mani. Check it out, and try it out, I know you will love it!


First I will start with showing you the necessary tools. The tools I used are a variety of sizes of dotting tools, one size for each color of dot, and a small manicure clean up brush. My tools are by Bundle Monster, and I will be doing a review of their tool set in a little while complete with photos of the full range.


I started off with Revlons Quick Dry base coat. I don't always use a base coat, but when I do I use Revlon quick dry base coat :P I applied one even coat to the whole nail bed of all my nails as pictured above.


Next I used Revlon Top Speed in Spirit to paint two coats of pure white onto the full nail bed of all my nails. Just an f.y.i I used to use Sally Hansen Xtreme Wear in White out for all my manis that required white, but while I am in love with the rest of the colors in the Sally Hansen lines I always found that the formula for White out began to clump and become gooey faster than all the others so I decided to go with Revlon, and it seems to be performing much more smoothly. I just use my Sally Hansen for stamping now.


The colors that I am going to use for this mani are pictured above. They are Sally Hansen Xtreme Wear in Pacific Blue, Sally Hansen Xtreme wear in Marine Scene, Essie in Aruba blue, and Essie in where's my Chauffeur?. I also used a very small amount of Sally Hansen Gem Crush in Bling-Tastic. These are all great polishes and I strongly advocate the purchase of all of them :P I know, I know, enabler much!


First I used my largest dotting tool to dot Marine Scene which was my lightest and thinnest polish being a metallic on top of the white. I wanted to get lots of the color, while leaving lots of white as I was using multiple colors and I still wanted some white visible when it was completed. I allowed this color to dry.


Being the next lightest color, I used my second largest dotting tool to apply Essie Where's my Chauffeur I applied roughly the same number of dots in this color as I did with Marine Scene. Notice that I overlapped some of my dots to create a more interesting pattern. Allow dots to dry.


Next I used my next smallest size dotting tool to apply my dots in Pacific Blue. I applied again overlapping with some of the other colors and filling in some more white spaces to make it look cohesive. The number of dots you will need is obviously dependent upon the size, and length of your nails and how much space you have to fill in. Allow to dry


To finish up the dots, I used my smallest dotting tool to apply Essie Aruba Blue to fill in any spaces that I wanted to fill in to create a blended and even look between all the nails. Again I still wanted to leave some white visible so I took care to not over apply any color in particular. Allow to dry.


The only steps left were to apply in whatever size dotting tool you prefer one to two dots of glitter polish in my case Sally Hansen Gem Crush Bling-Tastic just to add a touch of glitter and shine to the mani. I then used my manicure cleanup brush as pictured at the beginning of the tutorial to clean up around my cuticles and give a nice frame to the nail bed. After making sure the polish was dried well so that the pigments of the dark blues didn't run into my top coat, I applied one coat of Seche Vite to the  mani. Boom, you are done. This can of course be done in a gradient of whatever colors you want. I hope that you enjoy it and give it a try! Let me know what you think! Thanks for reading and stopping by!